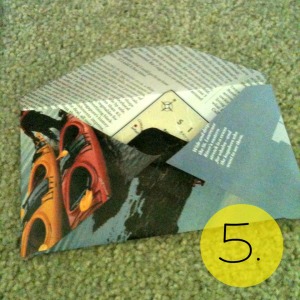
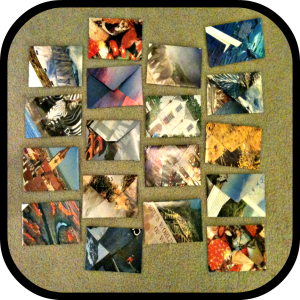
I’d like to call myself crafty but I’m the first to admit that I like to keep it simple. These beautiful envelopes are just that–easy and quick but something I can still be proud of! I know this says it takes five steps, but honestly it’s only so easy. Make the pattern, trace, cut, fold, glue.
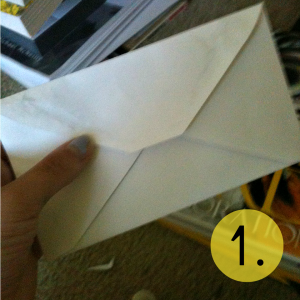
1. Find an envelope the size of the one you want to make. I used the small 4x6ish size. You of course can try larger but the long business envelopes won’t fit on one standard sheet of paper so you’ll have to make your envelope out of scrapbook paper or a similarly large piece of paper.
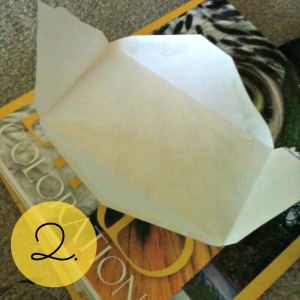
2. Carefully unfold the envelope, trying not to tear any edges. I’ve also heard that steaming works quite well to loosen the glue–try holding the envelope over the dishwasher when you open it! If you get any rough edges, just trim them off the closest to wear the edge would have been.
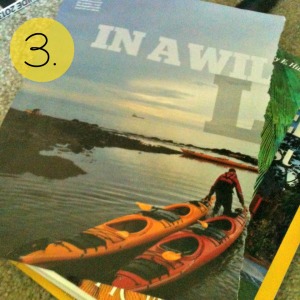
3. Find a pattern to use for your envelope. I used pages from old NatGeo Traveler and Nature Conservancy magazines. Old coffeetable books also work great for large images. Also try scrapbook paper/printed cardstock or newspaper reinforced with cardstock.
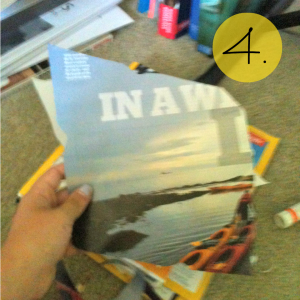
4. Lay your envelope pattern carefully on the back of your magazine page. If you want to, plan out which part of the magazine you want to be on the front or flap of your envelope so that the image isn’t upside down. If not, it still looks cool. Then trace the pattern onto the page and cut it out.
5. Fold it up! If you need a little guidance, place your cut out on top of the pattern and fold the cut out along the same creases as the pattern. Swipe a little glue stick on the bottom of each flap and you’re good to go!
6. Admire your beautiful envelopes and send them to someone who will appreciate them! To send, either write with sharpie (if you have a lighter envelope) or put a blank white address label in the middle and write the address on that.
Love, A.

